RESOURCES FOR
PHOTOGRAPHERS
Updated February 2024
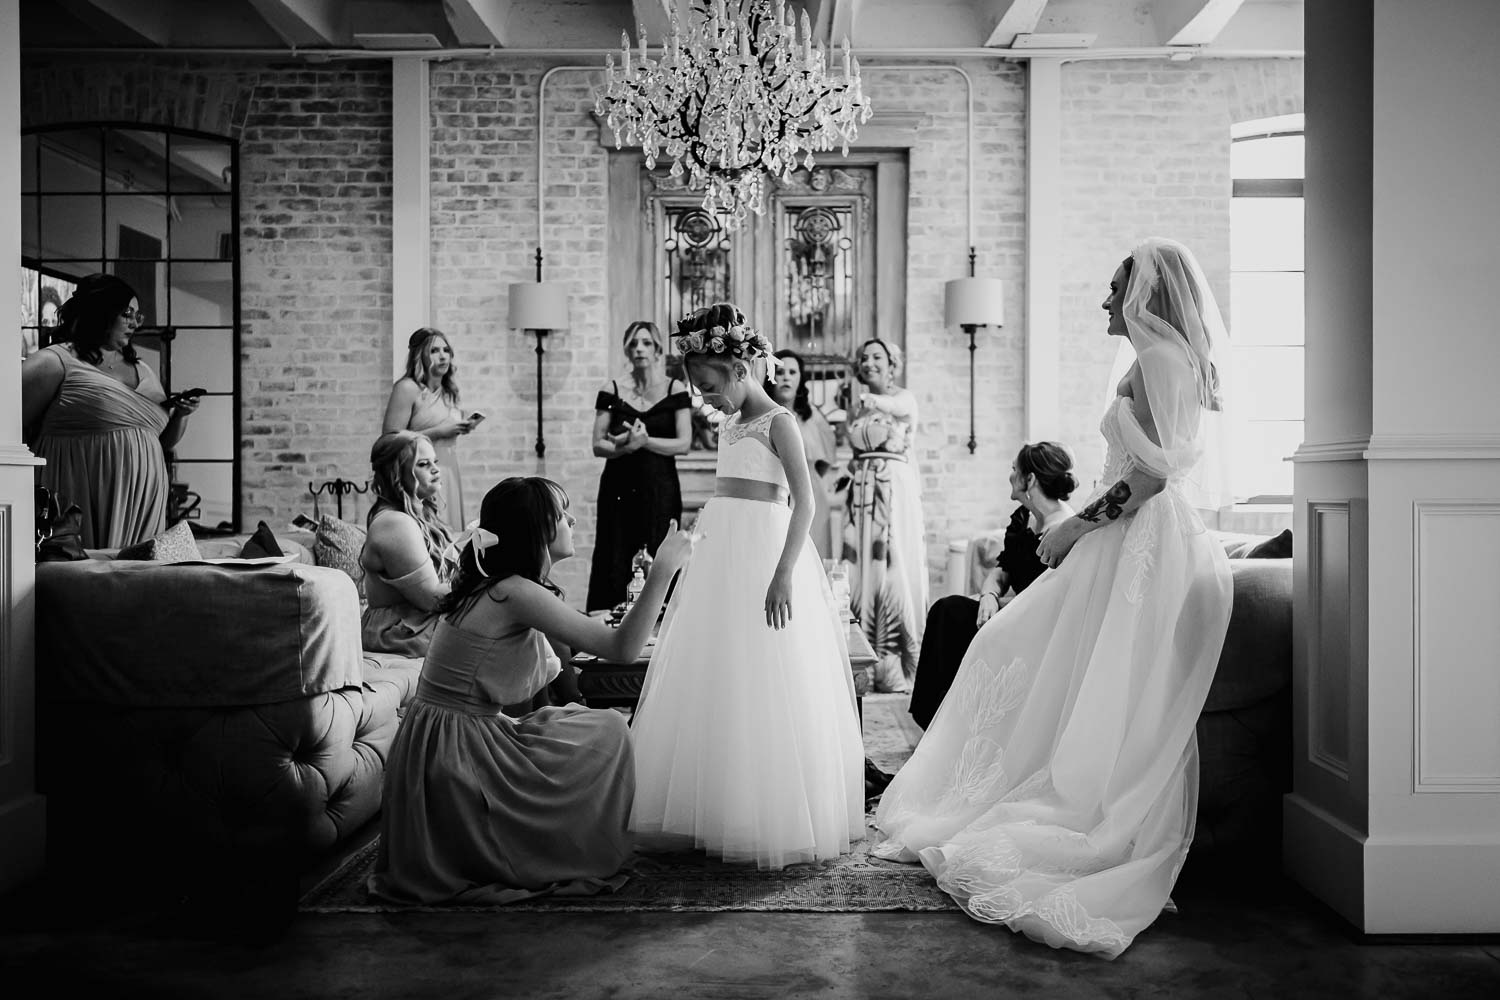
Image of the month
September 2023
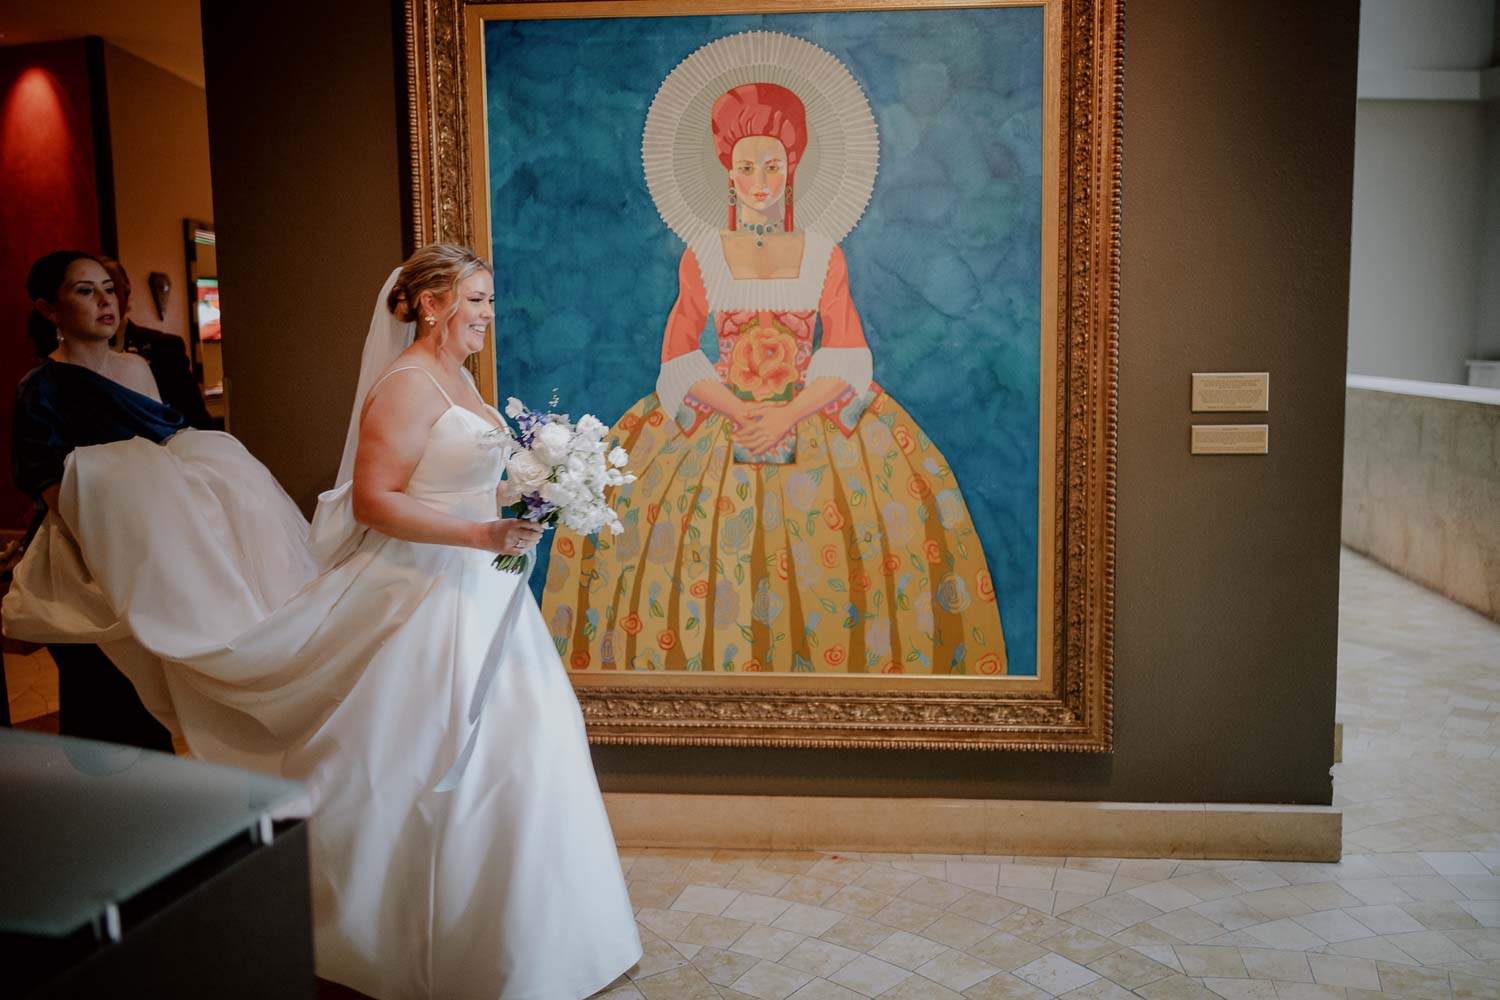
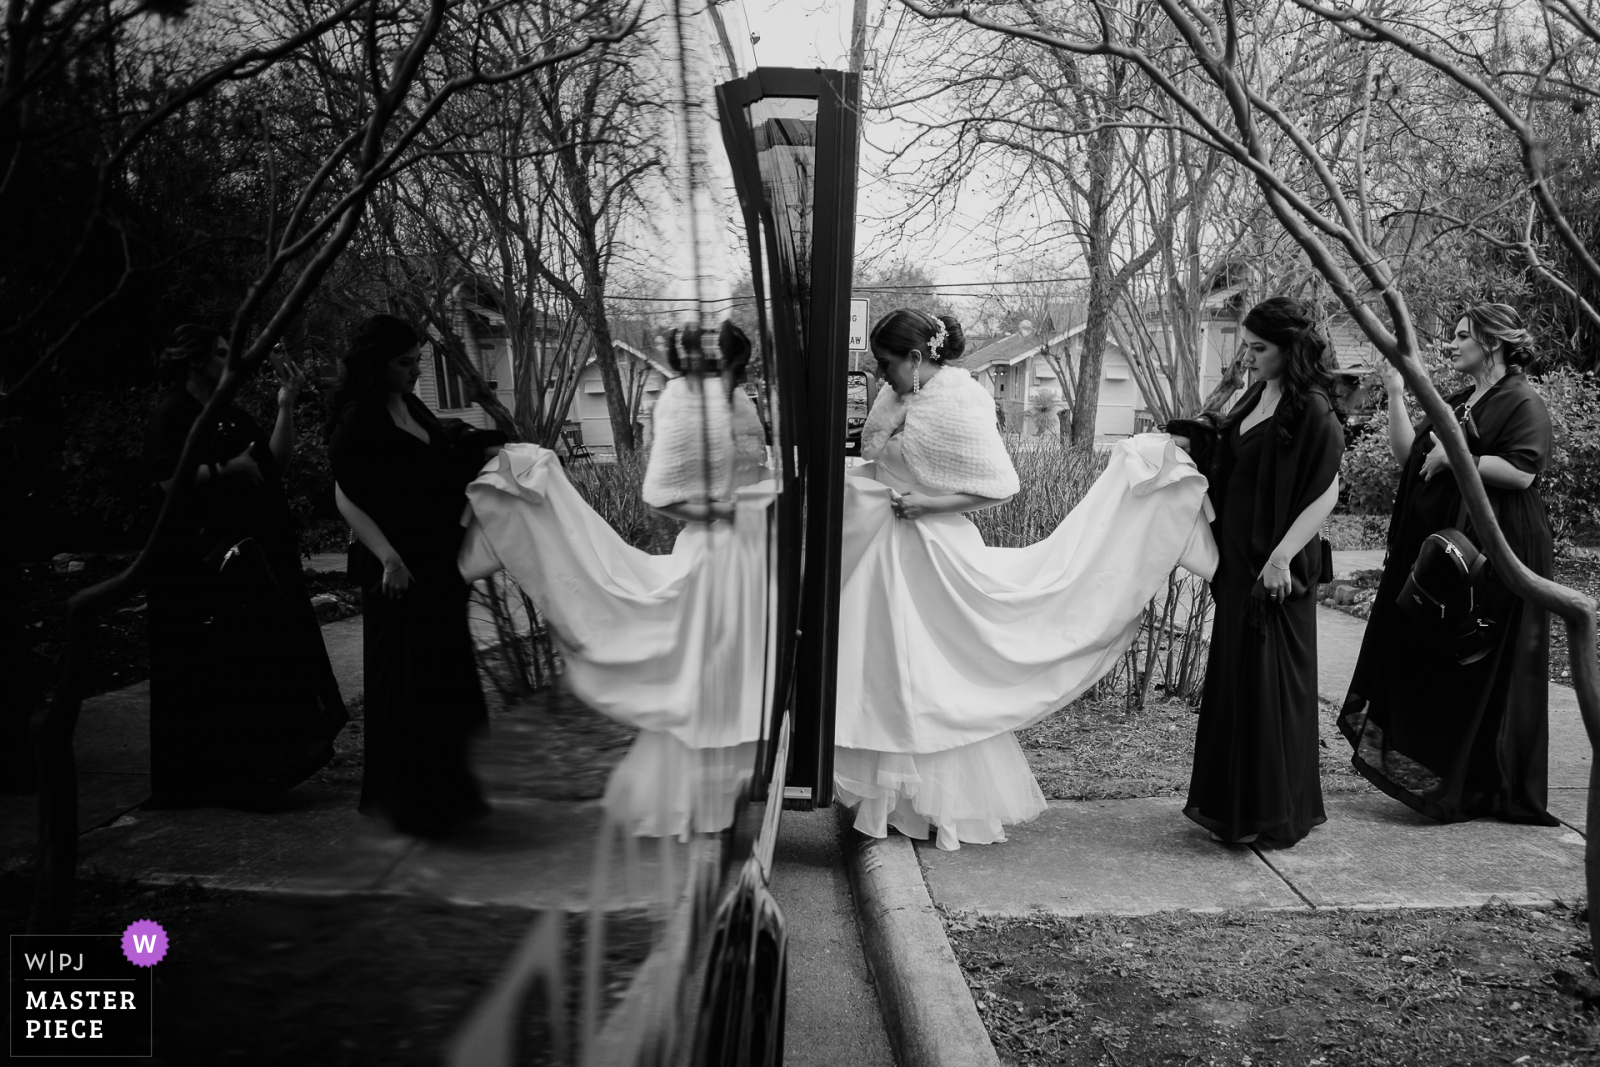
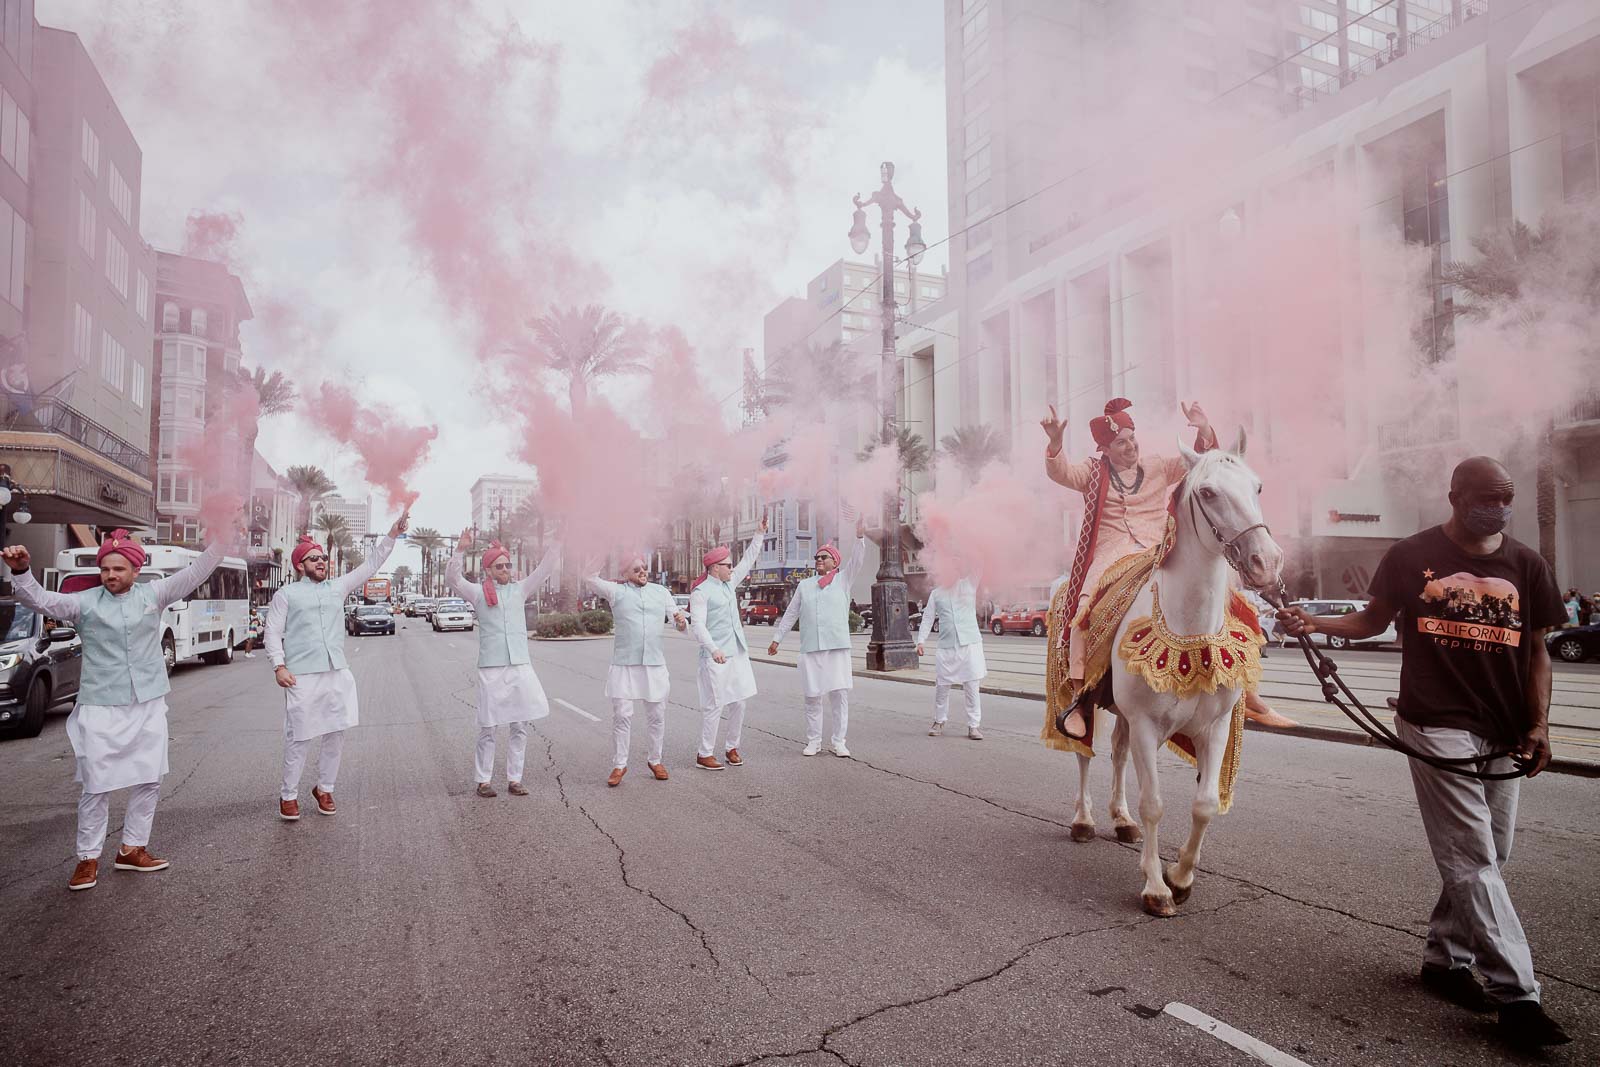
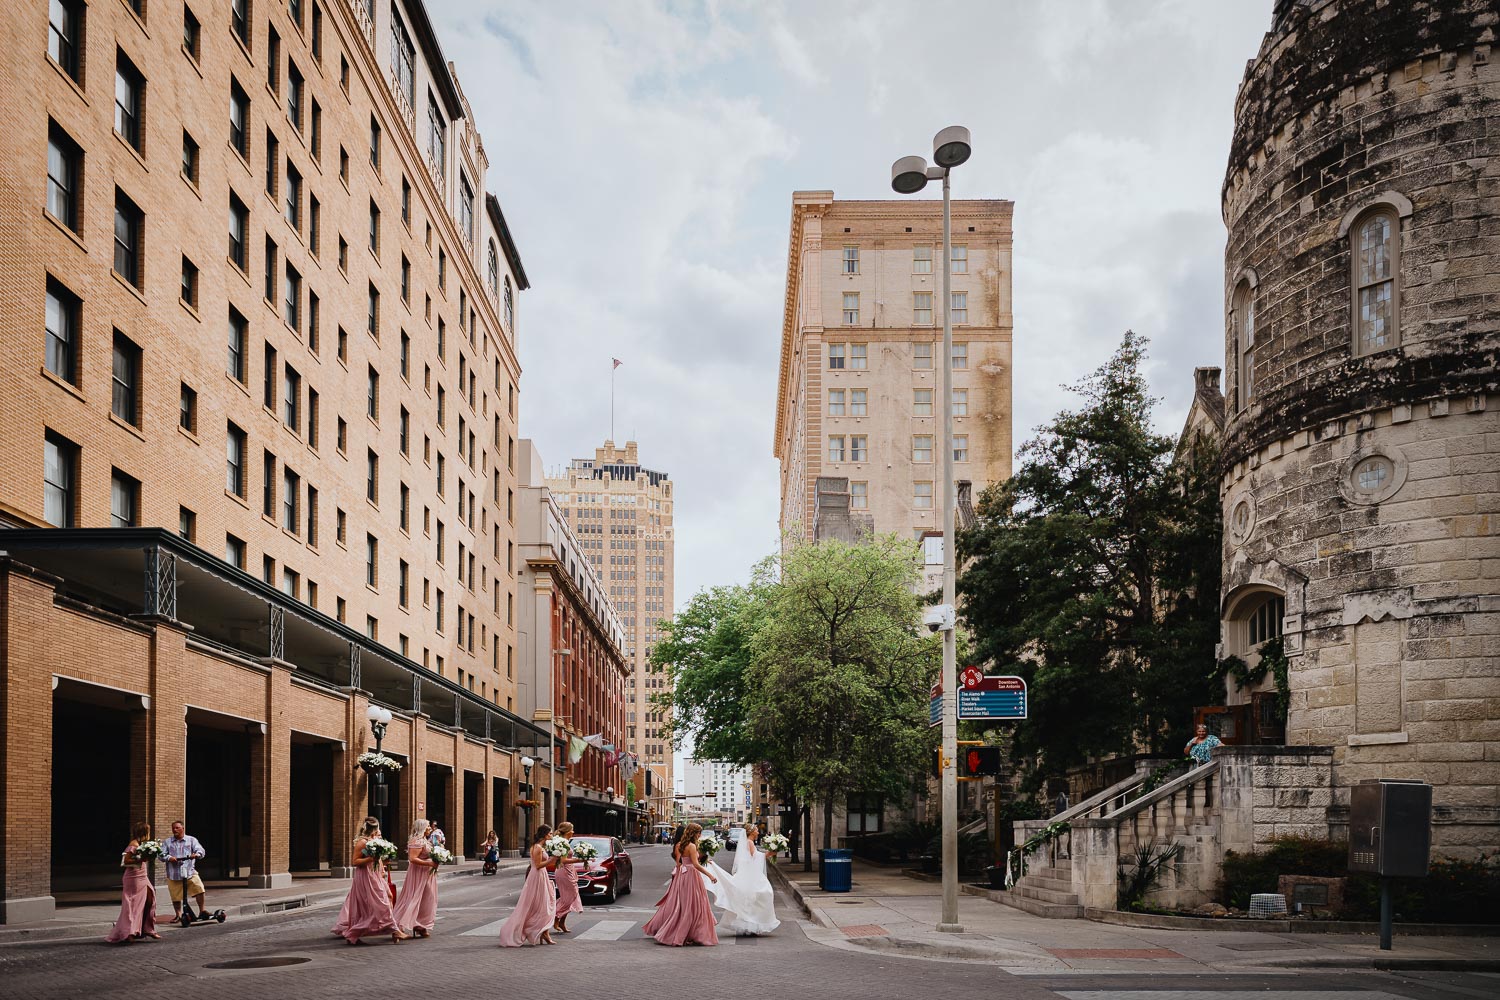
A Guide to Documentary Wedding Photography
September 2023

Street Photography in NYC
June 2023

Image of the month
January, 2023

Image of the month
December 2023
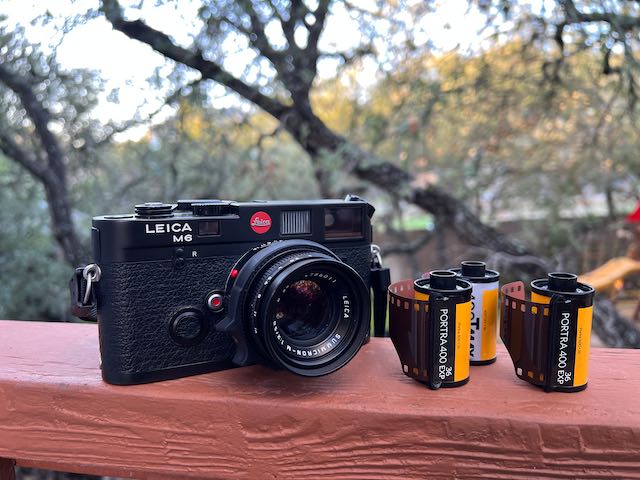
Top 10 Reasons Why You Should Start To Shoot Film
November 2022
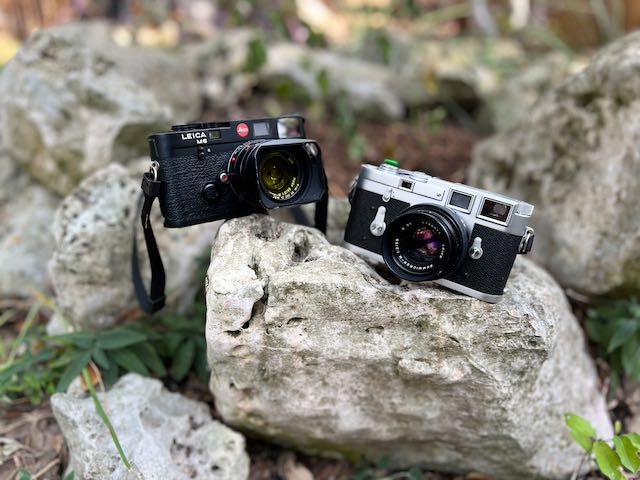
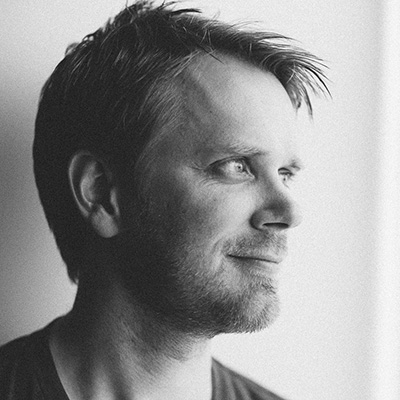
Why the Leica M is so special in my heart
June 2023

How to start shooting weddings
A list of what to do and not to do!
December 2022

2022 favorite wedding images of the year
January 2022
I love to help photographers.
Do you have questions?
Upcoming Workshops 2024
October 2023

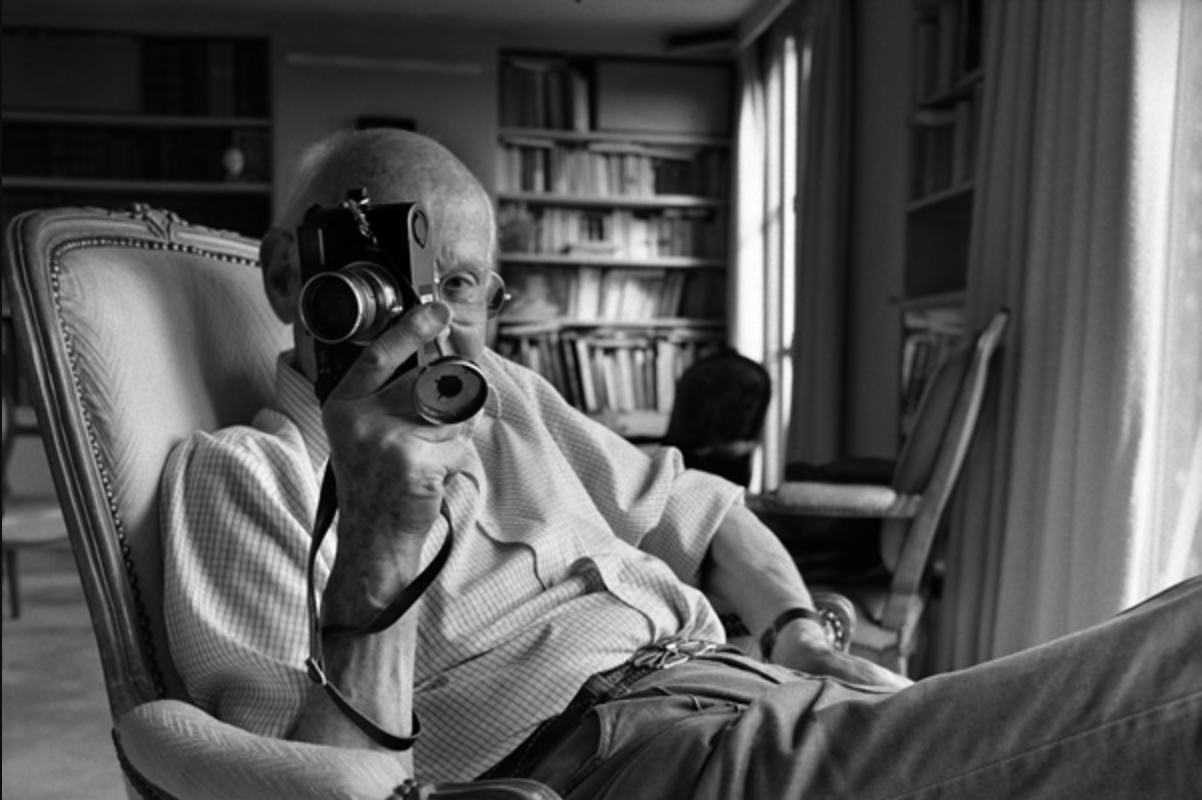
Henri Cartier-Bresson: Personal Inspiration
December 2022
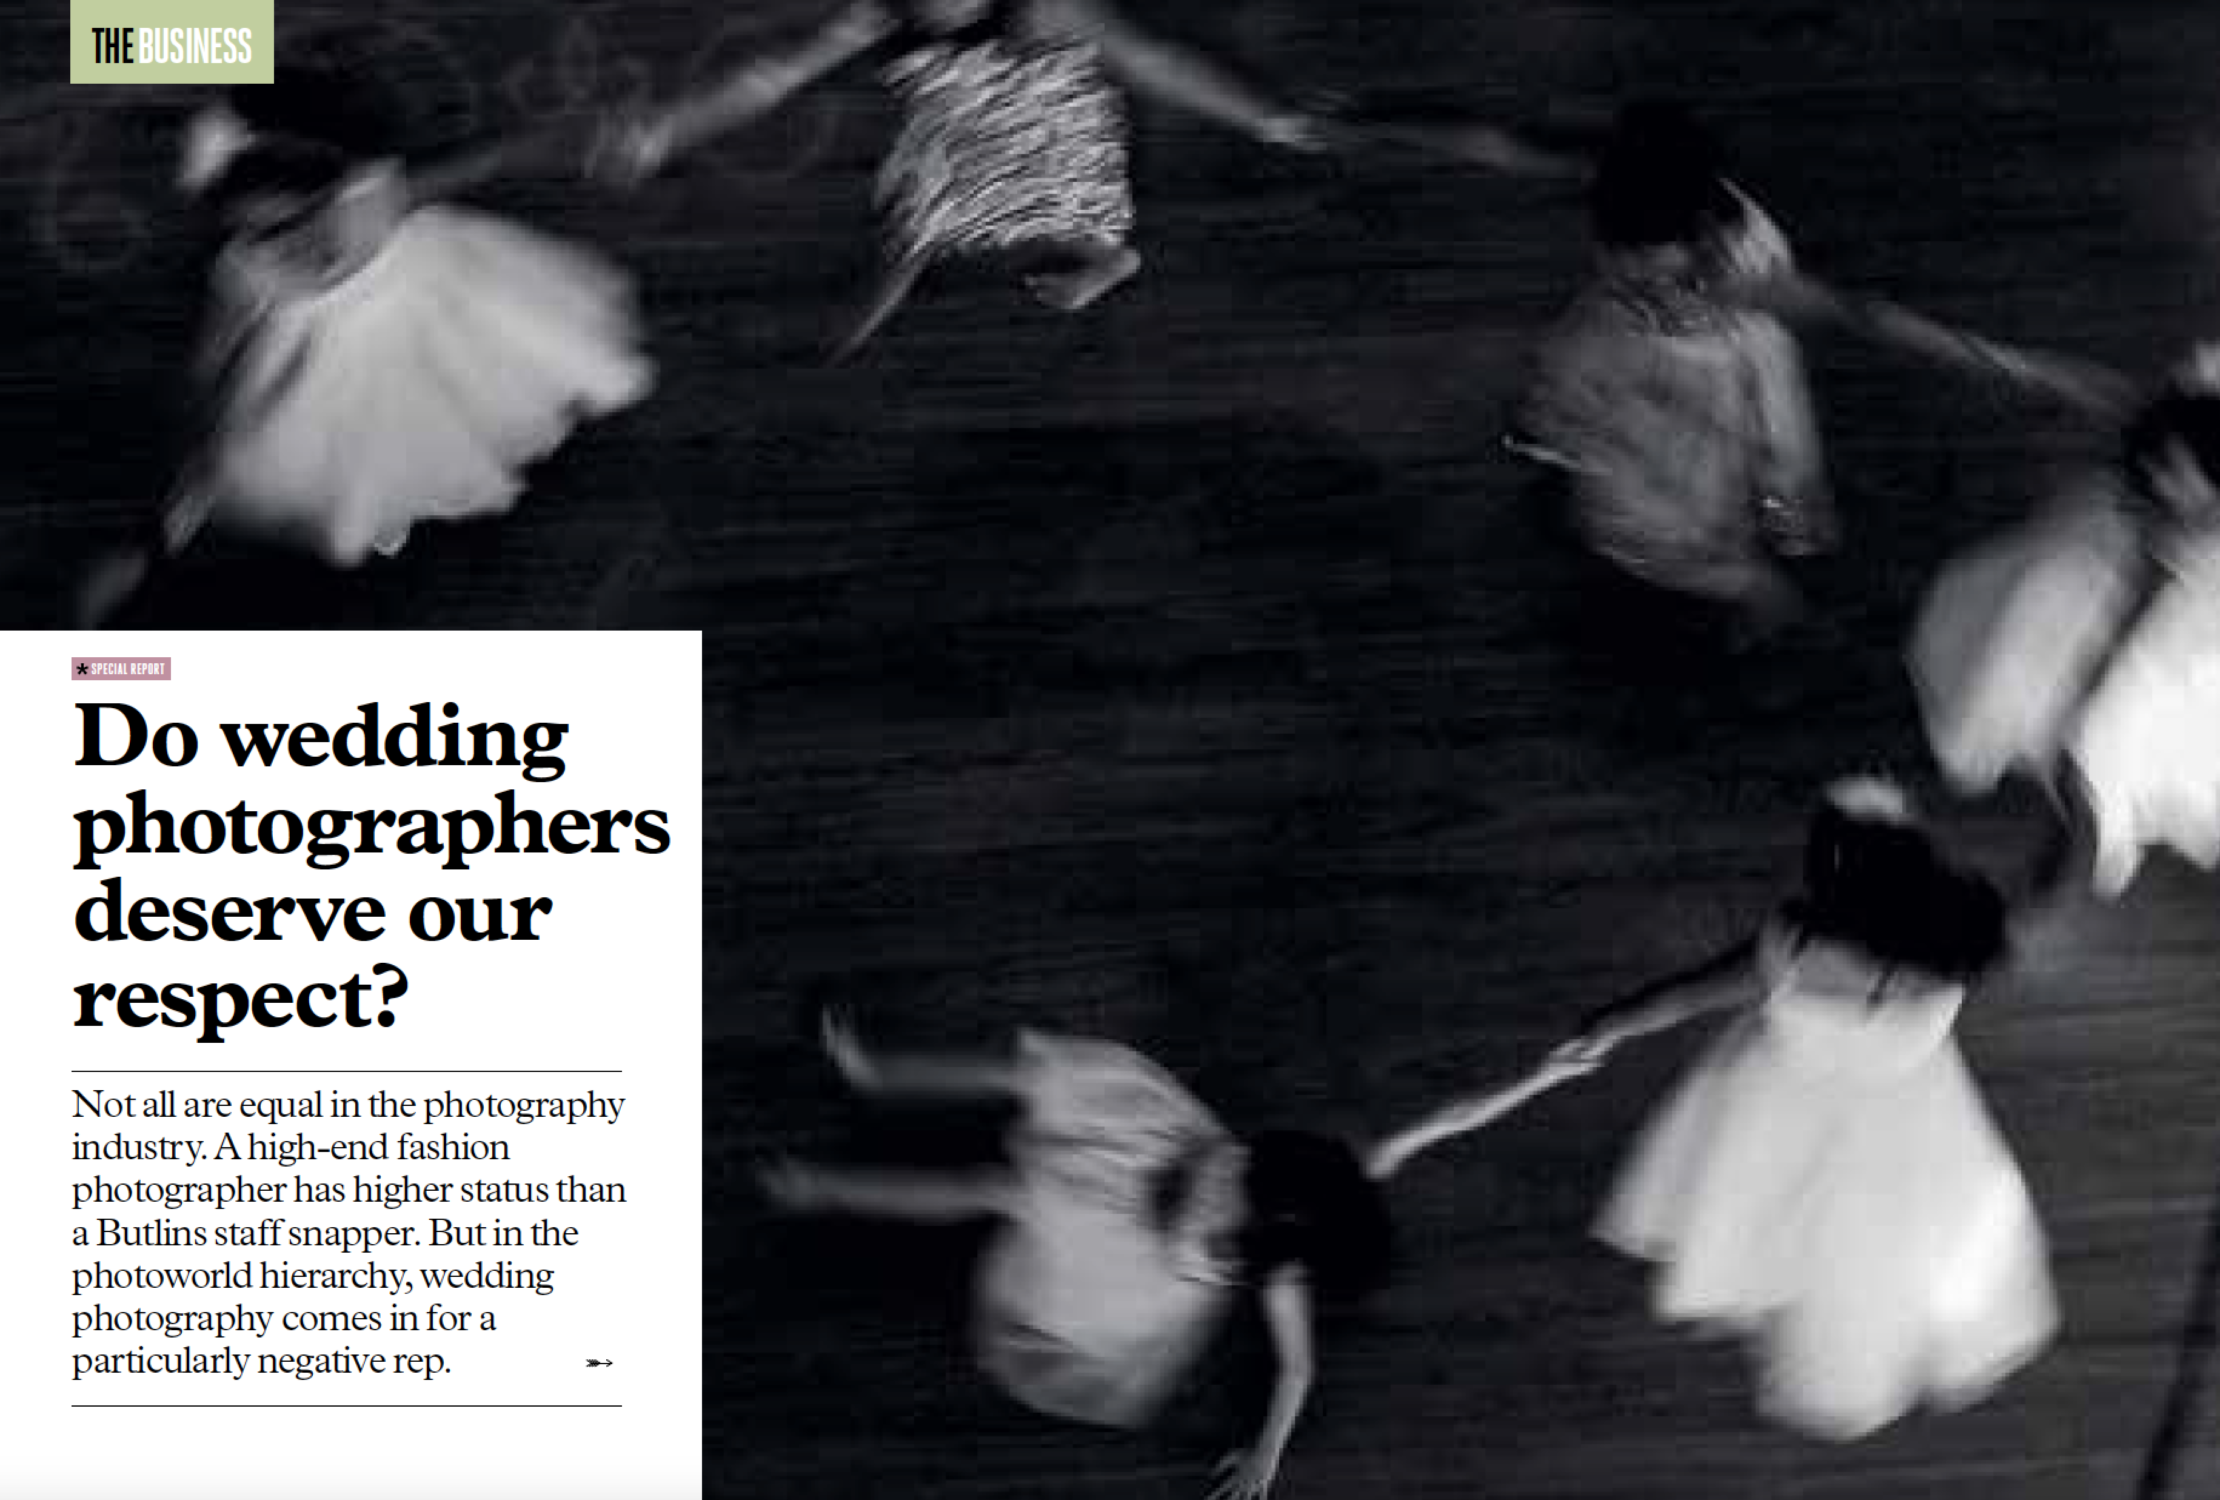
Do Wedding Photographers Deserve Our Respect?
November 2020
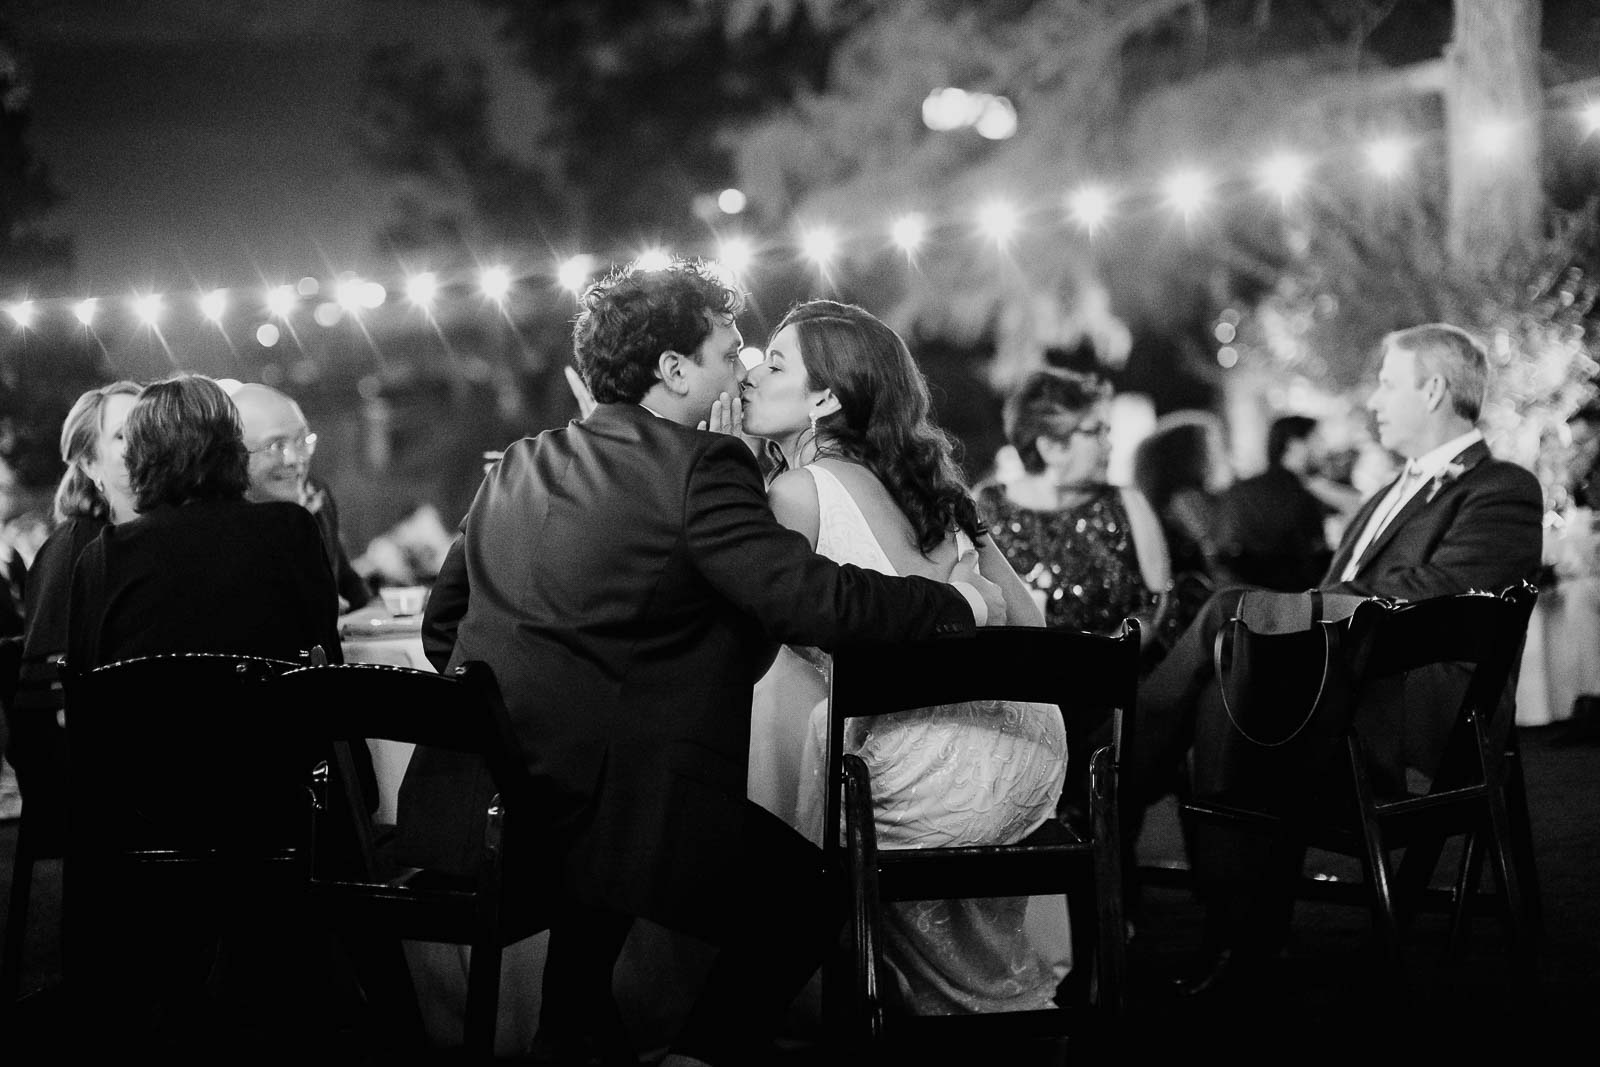
WHAT IS DOCUMENTARY WEDDING PHOTOGRAPHY?
September 2023

100 Leica M9 weddings
December 2020
Henri Cartier-Bresson – 26 quotes
November 2022
Favorite wedding images of 2021
December 2021
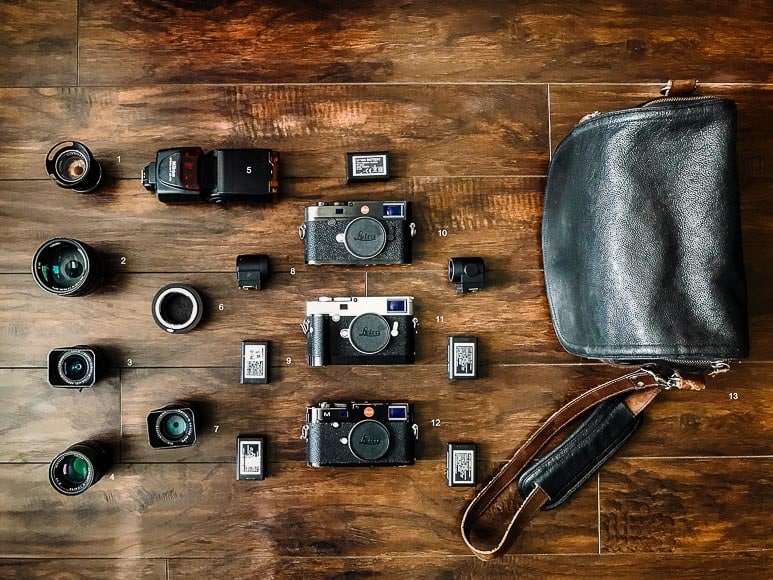
What’s in my camera bag
October 2023
Favorite images of 2020
January 2021
Why the Leica M is so special in my heart
June 2023

How to become a successful wedding photographer
February 2024
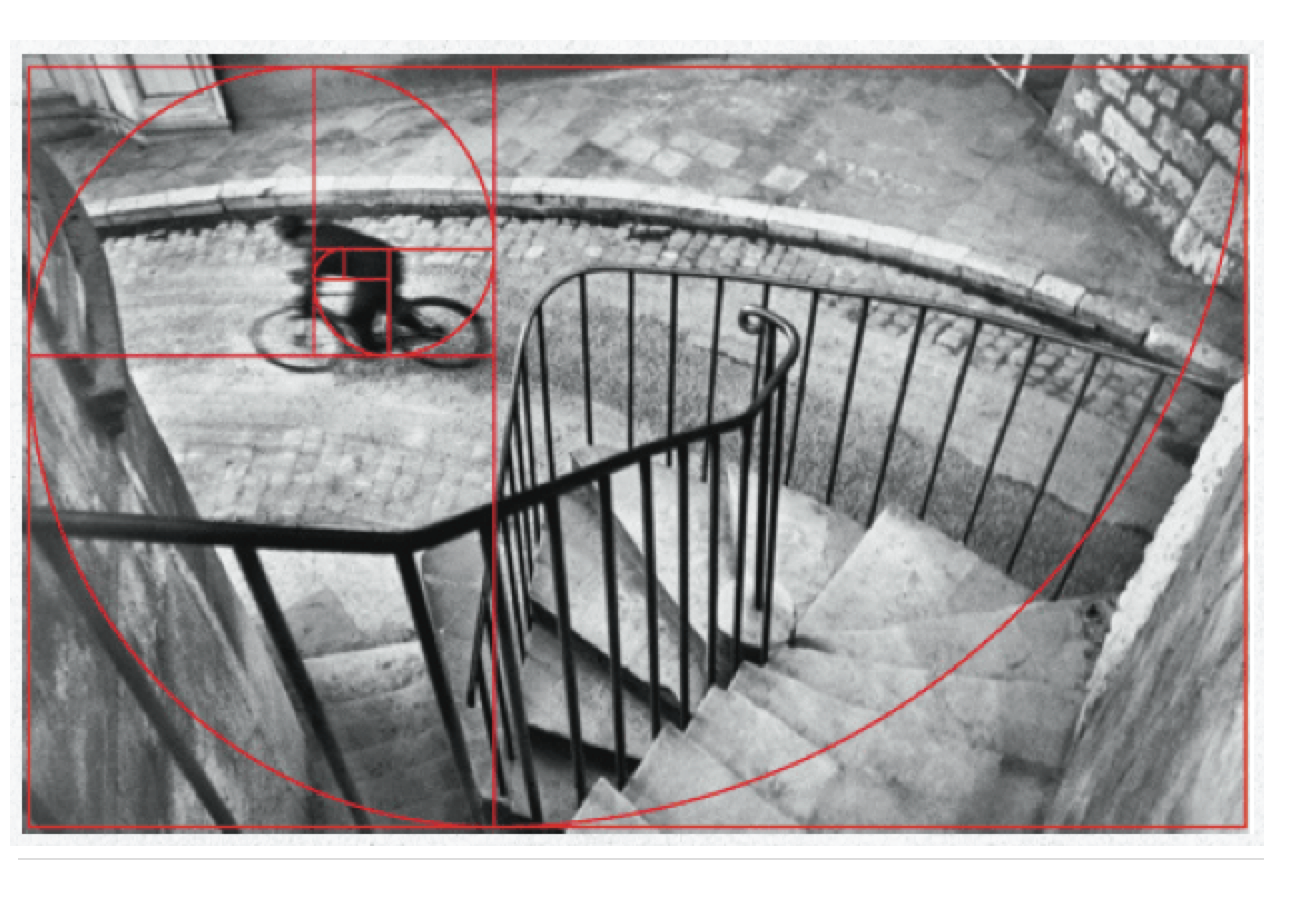
The Fibonacci Circle | The Golden Ratio
January 2022